


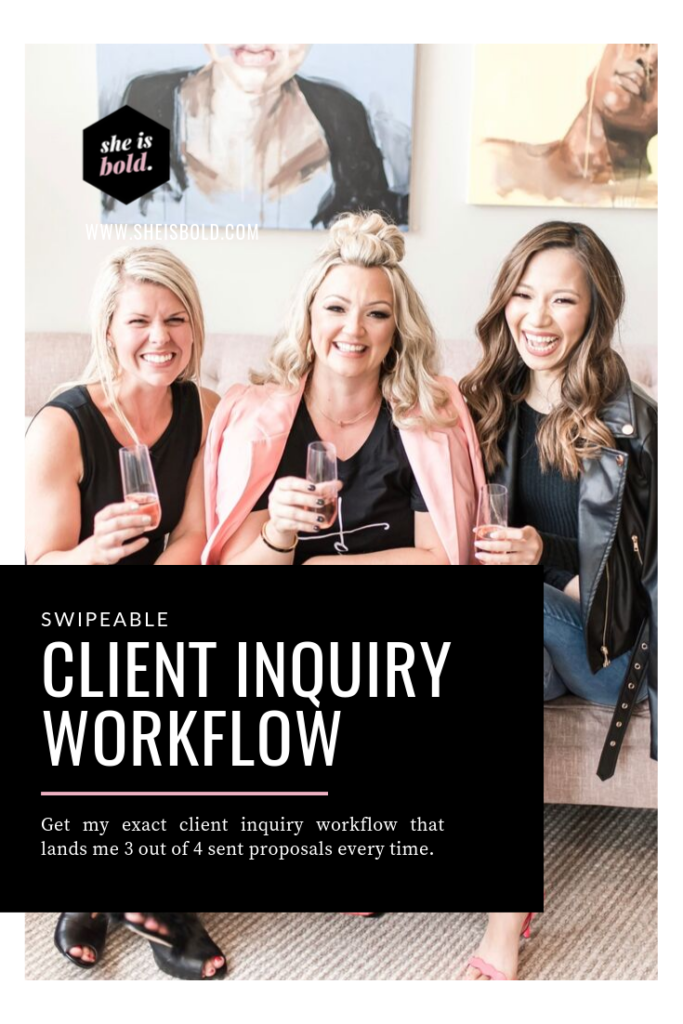
You keep hearing that creating a client workflow is a must-have to create any sustainable, scaleable, service-based business (or at least, you just did 😉 )… but what about a client inquiry workflow? Let me share my exact client inquiry workflow that books me clients at a 75%+ closing rate =so you can quit looking like an unorganized mess when a client inquiry comes through and finally get you more signed proposals… deal? Deal.
Please note: this post contains affiliate links that I’m super proud to share with you and helps She Is Bold to continue bringing you free content you love.
Ok first things first, what is a client workflow?
A client workflow is basically a list of steps that you need to take from start to finish to complete a project successfully– kinda like how a recipe lists out all the steps to make a meal.
So a client inquiry workflow is then a list of steps that you need to take from the initial client inquiry all the way to a signed proposal– the first workflow that has to even work for you.
It’s probably also helpful to point out the other types of client workflows just in case you’re wondering what the difference is. Like:
- An onboarding client workflow
- An overall project client workflow
- An offboarding client workflow
- And a client inquiry workflow.
There are so many types of client workflows because workflows offer so many amazing benefits.
Benefits of a client workflow:
Having a client workflow has significant benefits like allowing you to:
- Appear more organized, streamlined, and experienced to prospective clients,
- Get the chance to show them what an experience working with you would be like if they booked,
- Minimalize the number of potential errors, forgetful moments, and having to do any “make goods”,
- Save a significant amount of time by speeding up your processes instead of just winging it every time,
- Build potential and momentum towards automating and delegating recurring tasks for future team members…
- Streamlining the creation of digital products or signature offerings out of tasks that are consistently successful for you,
- Plan ahead, allowing you to be proactive instead of reactive…
- And so much more!
So let’s go ahead and get you a client workflow, shall we?
Create a client inquiry workflow with my exact workflow, tips, and copy snippets below.
1. Attract your ideal client
Just to recap a very crucial part of my client workflow, make sure that you are attracting your most ideal client with the type of content and brand messaging you are putting out there. For example, if you are after a more experienced entrepreneur, don’t put out content that is for beginners or you’ll likely get those types of entrepreneurs inquiring instead of the expreienced entrepreneurs you’re after.
2. Email them as soon as possible!
Email that new lead inquiry as soon as possible to assure them that their inquiry was received and that you’re excited for the potential to work with them.
I love that Honeybook, has automated “workflows” already built into their system, so if you use a Honeybook form and someone submits an inquiry, it will automatically send them an email so they can instantly know that their information went through safely.

If you’re using Honeybook workflows, I highly recommend that you send a “Hey, I got your inquiry and will be in touch very soon!” email and then follow it up with a custom message that shows that they are more than just an automated email to you.
Include addressing them by name, how excited you are to get to meet them, and if you can snag a personal/relatable moment by peeping their social media, then do so!
Then let them know the next step they should take like booking a time to chat with you with your calendar link. I adore Acuity and it allows me to sync all my calendars and appointment types AND they have a free version you can use that is syncable with Instagram so people can book a call directly from your profile– how cool is that??
Although you don’t HAVE to use a calendar system, I can’t emphasize the ease for both you and the client to invest in the paid or free version so you don’t lose the lead between all the “Does this time work good for you?” emails. Plus I just feel like being able to say “Choose a best time to work for you on my calendar” just adds another notch of professionalism to your belt, don’t you??
Here’s an initial client inquiry email example:
“Hey Ashley! I’m so glad you reached out and can’t wait to hear more about you and ______. I’m including a link to my calendar below so you can choose a time that works best for you for us to chat! If you don’t see anything that works for you, please don’t hesitate to reach out for custom availabilityand if you have any questions in the meantime, please don’t hesitiate to reach out! Looking forward to “meeting” you! “
You can also attach a pretty digital brochure (Honeybook has AMAZING templates for this!) to showcase other client testimonials or in depth information not found on your site, to build the momentum and better guide your initial conversation.
3. Follow up with inquiry within 48 hours if they don’t respond to confirm that they recieved the email and scheduling link from you.
4. Follow them on social media after they reach out to you.
Following your prospective clients on social media will allow you to also determine if they really are the best fit for you. It has to work both ways, right?? Right! It also allows you to stay up to date on what they’re working on and gives you more ammo for that initial conversation to make sure there are zero awkward moments of silence and they can you relate naturally.
5. Schedule a reminder email before the initial call takes place.
Acuity, Honeybook, or a Google Calendar reminder will work here, but do not forget this step! Sending them a reminder helps them to:
- Prepare for your call
- Shows them you’re excited to chat (If you send a custom message that says “I can’t wait to chat with you tomorrow! or something of the sort)
- Gives them the opportunity to reschedule or cancel instead of straight ghosting on you– #theworst
6. Prepare for your initial call with notes or a call script.
Especially if you don’t have as much call experience, make sure to have some notes handy! Having a list of their interests will certainly help make the conversation more relatable and personal to start, but also make sure you have a list of the questions that *you* want and need to be answered to determine if they’re the right fit for you.
And if you’re experienced, I still can’t recommend having a list of short notes just in case your prospective client freezes or gets cold feet and the conversation just isn’t flowing–it’ll help give you some jumping points to get the conversation flowing again.
7. Have the discovery call to determine if you’d be a good fit and to tell them about your services.
This is “where the magic happens” so make sure you understand what problem they have and present how you can uniquely solve it with your services.
8. Send them a personalized email and proposal the same day to recap all the points you discussed and to give them next steps to move forward with working with you… like requesting to sign the contract or pay a deposit to book a spot on your calendar.
Remember to let them know you’re happy to answer any and all Q’s and that you understand that it’s a big decision to make!
9. Send a reminder email if they don’t respond to your proposal just to confirm that they received the proposal and remind them how much you enjoyed your conversation and look forward to working with them.
10. Send a “I’m so fricking excited to work with you email!” after the contract is signed.
Make sure you have an email template ready to roll after they sign the contract and/or pay that deposit because nothing is worse than them making a big investment and sitting around wondering if it went through or not.
Swipe this after-they-sign email copy template:
“EEEK! Ashley, I can not WAIT to work with you!! I’m humbled and beyond honored to have the opportunity to partner with you and bring your _____ vision to life– that just means the world to me!In the next 24-48 Hours, you’ll receive:
- Your welcome magazine so you know exactly what to expect during our time together
- A calendar link to schedule your kick off call for a time that works best for you
- And a questionnaire to help me do a little homework before our time together and get to know you and your biz more!
As soon as you complete the questionnaire and we get your 2-hour kick off call scheduled, we’ll be on our way to our weekly coaching calls and getting this marketing party started- Woohoo!
Looking forward to sending some goodies your way very soon and as always please don’t hesitate to reach out with any questions in the meantime.
Chat soon!!
Xoxo,
Sam”
Boom, you’re a pro.
Ready to next level your marketing? Create your free account below to join our private FB group and access our exclusive library of marketing resources.


Comments +